Hello World 따라하기
최초 구동
최초 M2를 구동한다.
$ m2 start

Starting m2 service...
Starting m2d service...
Starting m2rtd service...
m2rtd started.
라이선스 파일 /usr/local/m2/license.xml 이 없다면 에러 메시지와 함께 종료된다.
[ERROR] No license file. Copy the license to /usr/local/m2/license.xml
정상구동 후 최초 /usr/local/m2/setting.json 가 없다면 다음과 같이 설정이 필요하다는 메시지가 표시된다.
[WARN] No setting.json. Please refer to <https://doc.m2live.co.kr/operation/basic/helloworld.html>
최초 설정하기
Hello World에 해당하는 아래 텍스트를 복사해 /usr/local/m2/setting.json 에 붙여 넣는다.
{
  "meta": {
    "version": "test",
    "defaultHosting": "test.com"
  },
  "hosting": [
    {
      "name": "test.com",
      "origin": {
        "protocol": "https",
        "address": [ "doc.m2live.co.kr" ]
      }
    }
  ]
}
최초 설정배포
로컬 설정을 배포한다.
$ m2 deploy local

{
  "version": "1.0.1",
  "method": "reloadall",
  "status": "OK",
  "result": "accepted"
}
최초 테스트
브라우저로 M2가 설치된 서버의 IP주소를 입력한다.
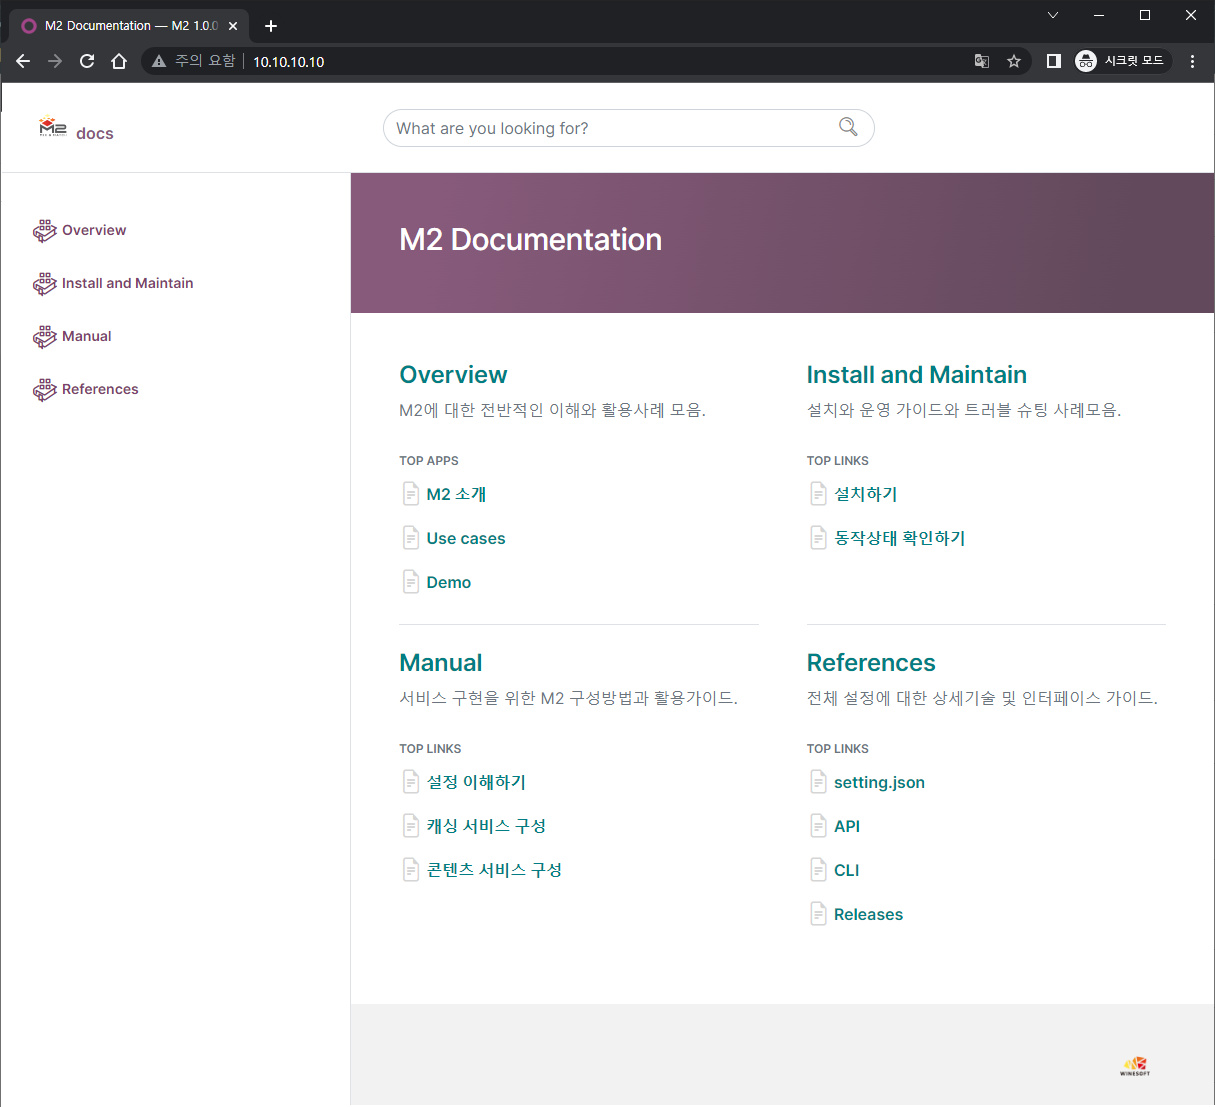
Hello World!
위와 같이 문서 페이지가 정상적으로 나타나면 성공이다.
Note
(Windows 10 환경) 도메인명으로 테스트하고 싶다면 C:\Windows\System32\drivers\etc\hosts 파일에 다음과 같이 설정한다.
10.10.10.10 test.com
위와 같이 설정하고 도메인으로 접속한다면 기본 가상호스트 설정인 meta.defaultHosting 을 제거해도 된다.